I am a Mac user and have written this guide using Mac software, so I have no idea whether you would get the same result on a PC using notepad etc. If you try this on a PC, please comment and let us know how you got on!

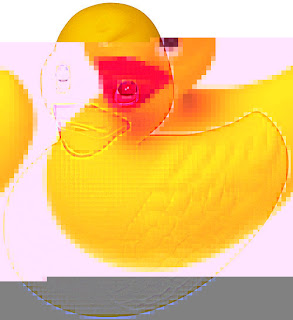
In proud PCAD tradition, I will be using the beloved Ducky as my sample image!
Step-by-Step Guide
1. First, take your image into Photoshop and choose 'File>Save For Web & Devices...' (You can do it with a regular image too, but from experimentation I've found that images saved this way are easier to work with).

2. In the Save For Web box, make sure that JPEG is shown, adjust the quality if you like and then save it.

3. Now in Finder, find the image you just saved and drag it into TextEdit.

4. You should now have a document full of gibberish computer language. This next bit is really up to you and the process is very haphazard, so I'll just give you a few pointers based on what I've learned from playing with it myself.

5. It's a good idea to keep making copies of your image (CTRL+click and choose 'Duplicate'). If you come up with a cool effect it's unlikely that you'd be able to do the exact same thing again, so don't save over it by accident!

6. In every image I've played with, messing around with the text at the beginning of a document breaks the image entirely so I usually leave the first few 'paragraphs' alone. In the screenshot, I've highlighted the area I wouldn't touch but if you experiment with your image, you will probably be able to narrow it down more.

7. This is the fun part! Take parts of the text and delete them, copy and paste bits of it or type in something. Save when you feel like it (making sure to use 'Save' and not 'Save As...').

8. Now drag it into Preview and see what you've got!

9. If you like the result and want to keep it, choose Edit>Copy and then go back to Photoshop (if you try and open it in Photoshop directly, it won't work). Make a new file, paste the image into that and you can save it properly.

Here is my finished picture, after saving it in Photoshop:

And that's it, you're done! I hope this will be useful (or at least mildly entertaining), if you have any comments or questions you can post them here or email me at xenorobo@gmail.com.


2 comments:
I would just like to add that if you dont have a mac this is very diffcult to do on P.c OR Laptop because of they way that the files are layed out on a pc it makes it almost imposible to change your images in this way .
Hmm, I suspected as much... that's a shame. :|
Post a Comment